Home »
OCRLabs Digital ID return status
Code Description
- PENDING This represents the state where the user has not started the verification process.
- INPROGRESS The transaction is in progress or the user has made a certain identification.
- SUBMITTED The transaction or the identification process has been submitted to the system.
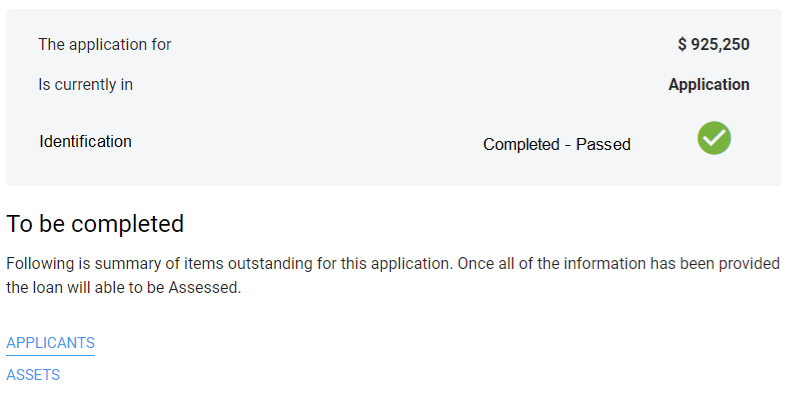
- COMPLETE Transaction completed. The system has finished running the result checks. The interpretation of the result can be seen here.
- EXPIRED The transaction process has taken too long to complete and has exceeded the transaction time limit.
- CANCELLED This means that the transaction has been cancelled. Therefore, the user cannot proceed to verify the identity. The user explicitly exited/cancelled the transaction.
When the application is “COMPLETE”
You can inspect the “results” block, which you can find out if the check has passed or flagged.
Overall PASSED:
The user has passed all checks, including document fraud analysis, face matching between their face and ID document, the liveness check, and, where applicable, the check from a third-party data provider.
Overall FLAGGED:
The user has not passed all the results, analyze the breakdown of the results more carefully.
Note:
If the overall result = PASSED, it means that the other breakdown checks also passed.
If the overall result = FLAGGED, try to analyse the breakdown of the results:
- Liveness FLAGGED Manually check the video for suspicious activity.
- Data FLAGGED Try to check that the data confirmed by the user matches what is on the identity document. If incorrect, we recommend users to try again using the correct data.
- Documents FLAGGED Do check the reason and then the document image.
- Facematch FLAGGED Try to manually check both images and see if they match, keeping in mind our result.
PEPs & Sanctions – KYC Assessment:
To turn on the integrated PEP & Sanctions in IDKit scroll down > Go to settings > Configurations > Data Providers. Here you can select PEP & Sanctions.
- Select – PEP & Sanctions provider to “powered by ION”
Then you should see a PEP & Sanctions result after doing another test tx.
See IDVerse documentation here:
https://idkit.docs.idverse.com/docs/additional-settings#set-up-dvs-data-provider
