Home »
Settlement Process
Navigate to the Contract Tab
Once the loan is approved, go to the ‘Contract’ tab in the ‘Assessment’ layer
Review Loan Details
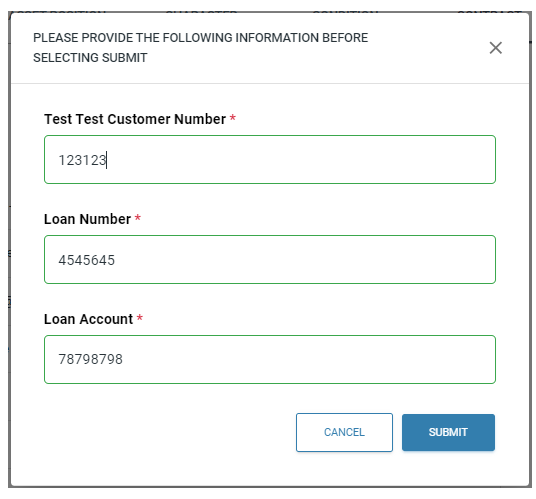
The loan details will appear. If everything looks correct, click the ‘Submit to Document’ button. This will open a pop-up.
Note: The pop-up might look different based on your solicitor
Submit Information to Solicitor
Fill in the details in the pop-up. The information will be sent to your solicitors via API, and they will generate loan contracts using the data provided by Nimo.
Note: If the contract request has been submitted via the solicitor direct portal and the ‘Submit to Document’ button is pressed, a duplication error may occur if the solicitor does not accept duplicate submissions

Example of the different UX for pop-ups depending on the solicitor
Example 1

Example 2

Move to Settlement
After entering the information in the pop-up and pressing ‘Submit,’ go to the ‘Overview’ page in the ‘Assessment’ layer. Click the ‘Submit to Settlement’ button.
This will update the loan’s status to ‘Settlement.’
Access the Settlement Layer
In the left-hand panel, click on the ‘Settlement’ layer. Find the applicant’s name and click ‘View.’

Track Solicitor Updates
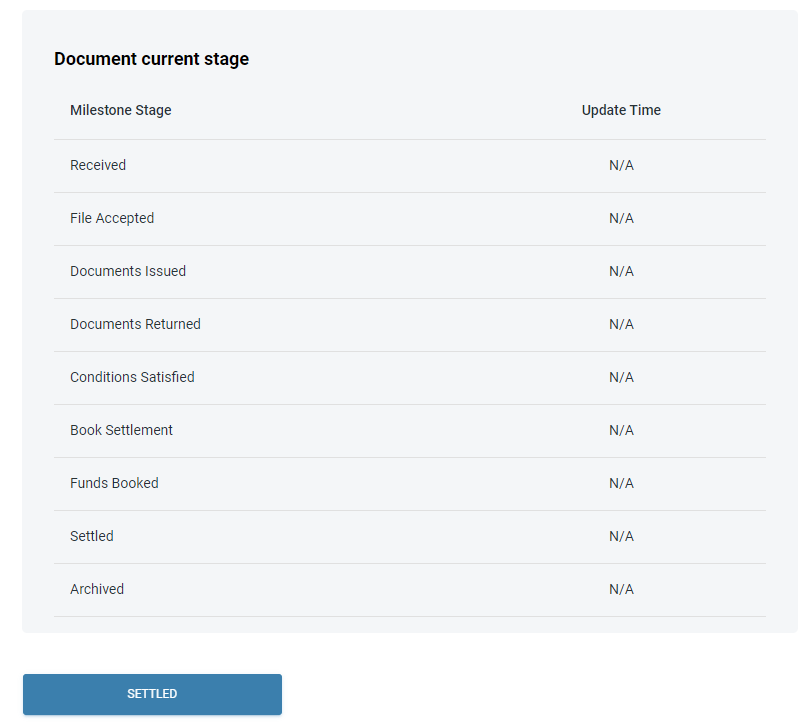
The settlement page will show the solicitor’s progress. The ‘Update Time’ column shows the date and time stamp from the solicitor’s system.
Note: The number and label of the milestone stage may differ by solictor.
Disburse the Funds
Once all required stages are completed, Nimo will show a ‘Disbursement’ field. Use this to release the funds to the applicant’s bank account.
Once all the above steps have been completed, the ‘Settled’ button will appear. When clicked, the application status will change to ‘Complete,’ marking the end of the process
